
Cut. Refine. Finish.
Choosing the right polishing pad is one of the most important decisions in paint correction. The pad controls how aggressively the polishing system works, how efficiently defects are removed and how refined the paint looks at the end.
This guide explains the difference between wool, cutting, one-step and finishing pads and helps you choose the right pad for the condition of the paint.
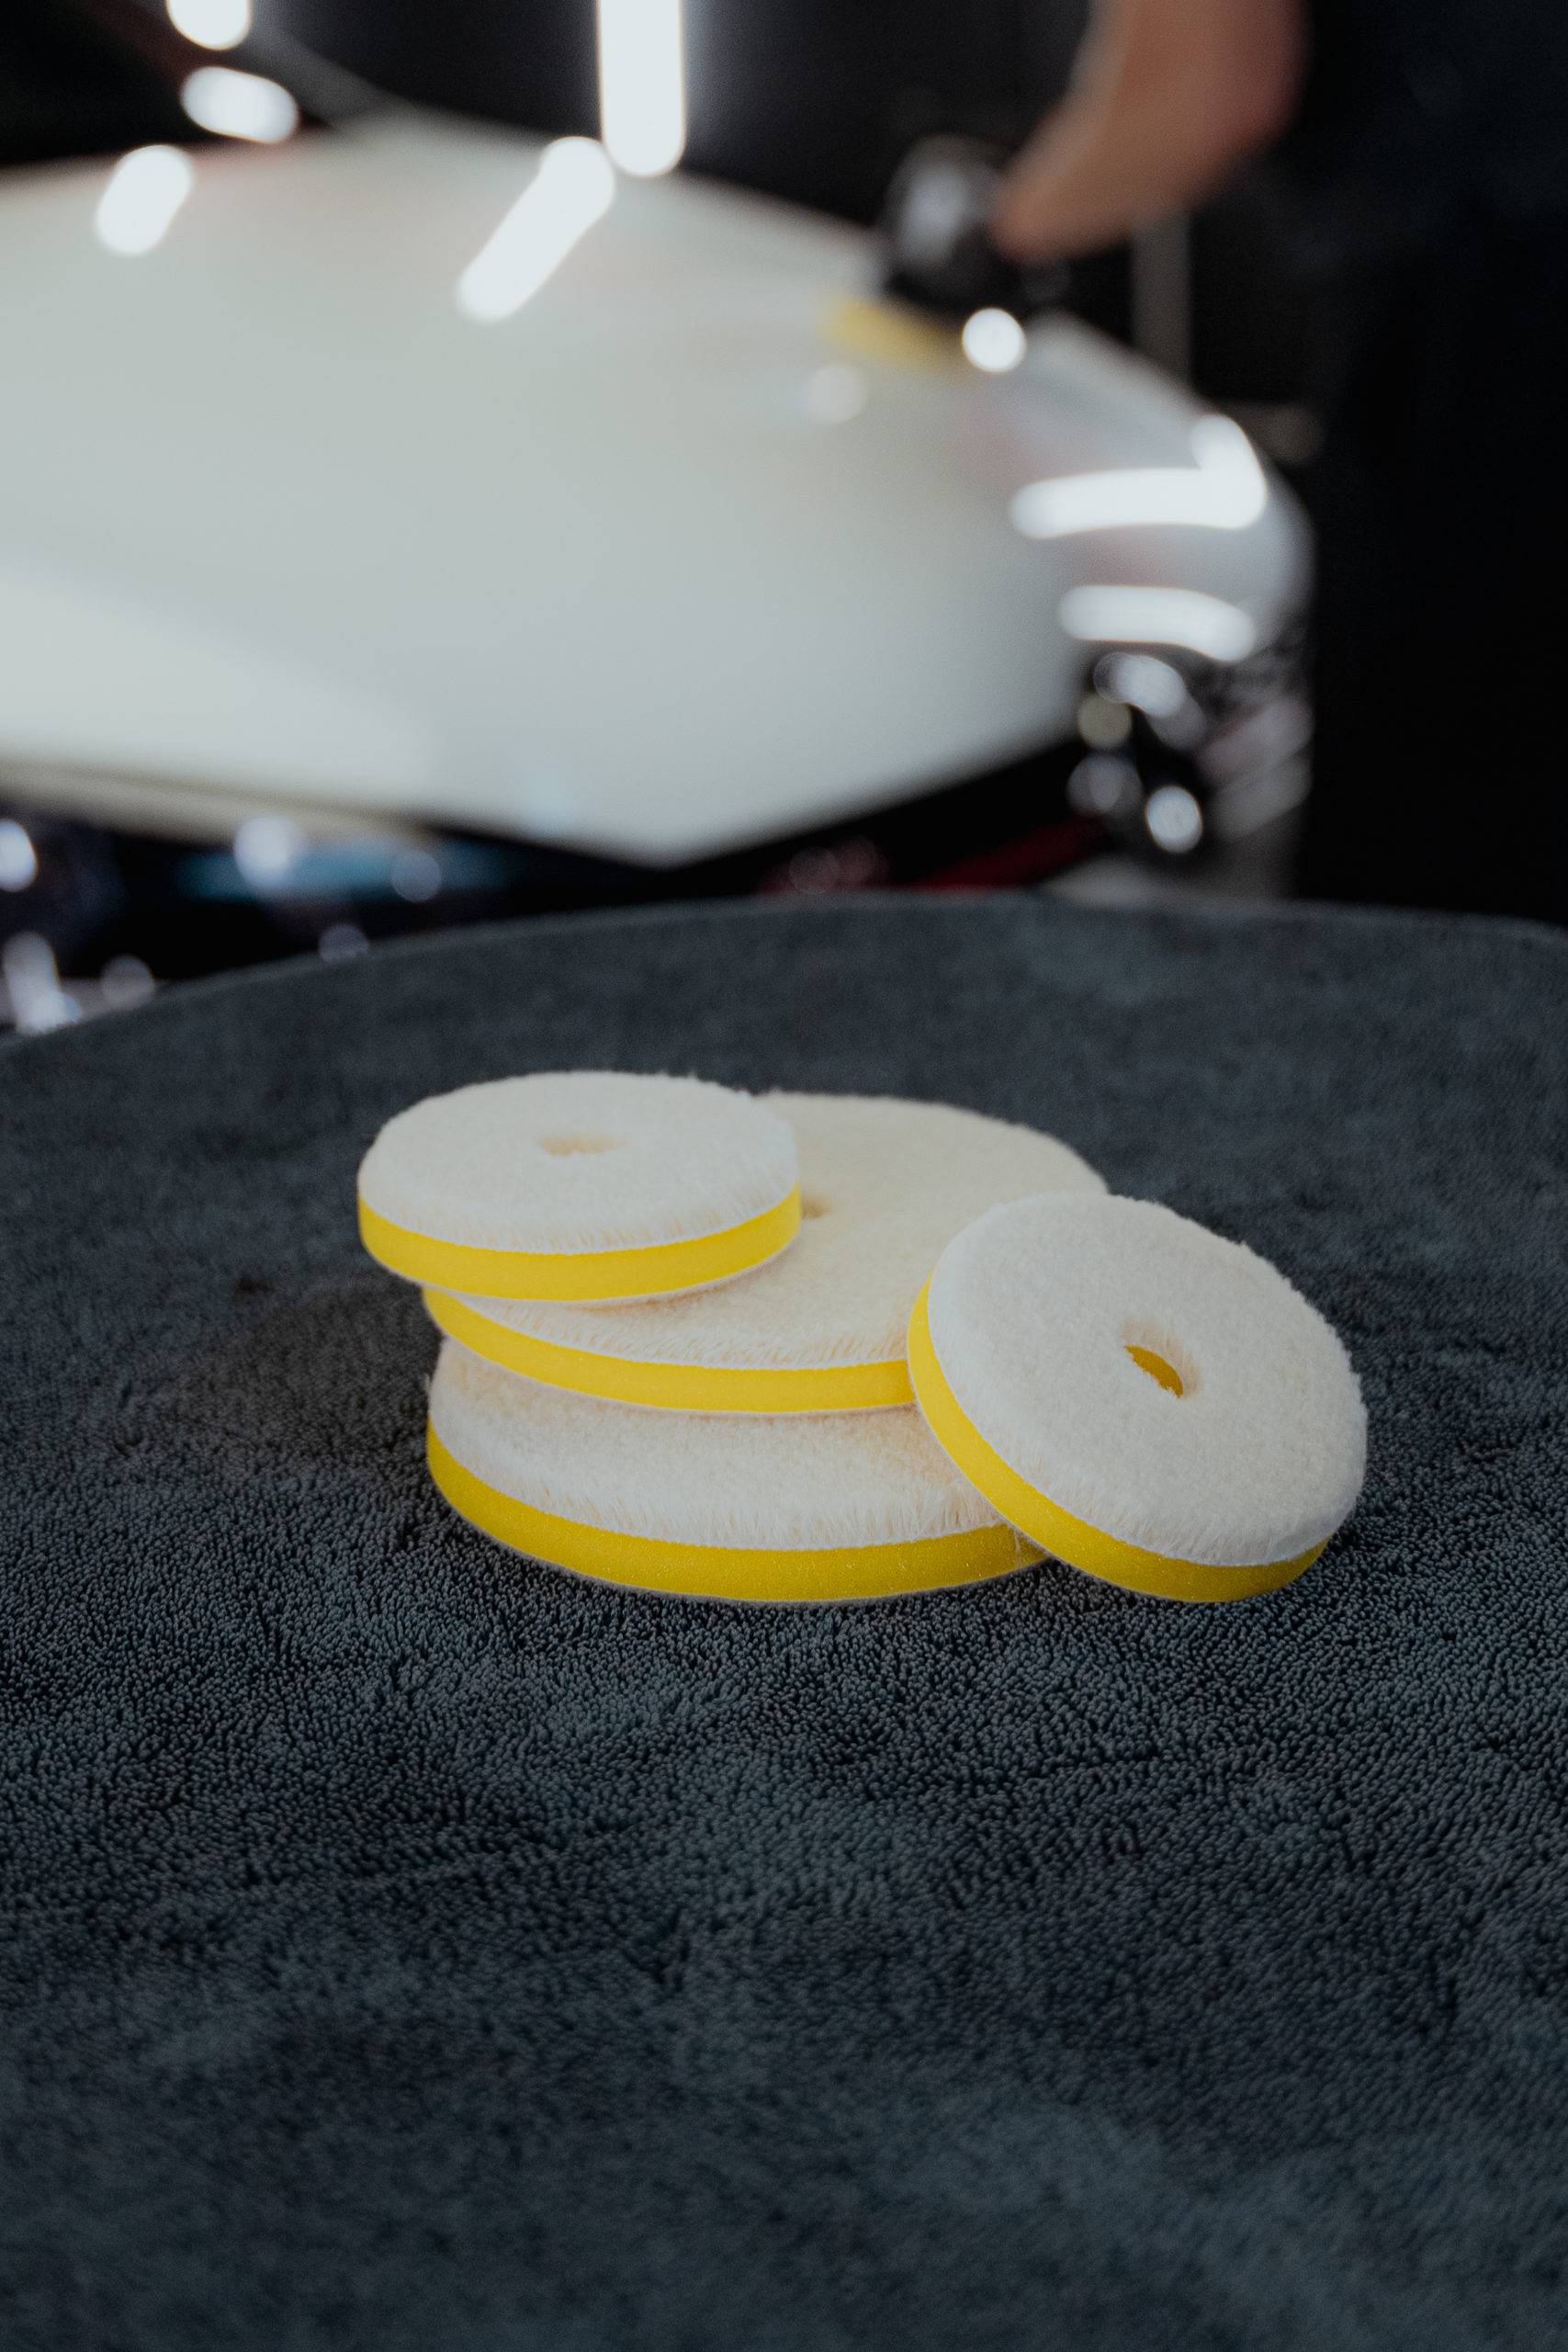
Why Choosing the Right Polishing Pad Matters
A polishing machine supplies movement, but the pad and compound determine how that movement is transferred to the paint. Changing pad construction can significantly change the level of correction even when the same machine is used.
Correction level
Firmer foam or wool increases defect-removal potential, while softer pads focus more on refinement.
Paint condition
Light wash marks do not require the same combination as oxidation, deeper scratches or heavily neglected paint.
Final finish
Strong correction may need a second refinement stage to restore maximum clarity and gloss.
Start with a test section and use the least aggressive pad-and-polish combination that achieves the correction you need. Paint hardness, defect depth and compound choice can change how the same pad performs from one vehicle to another.
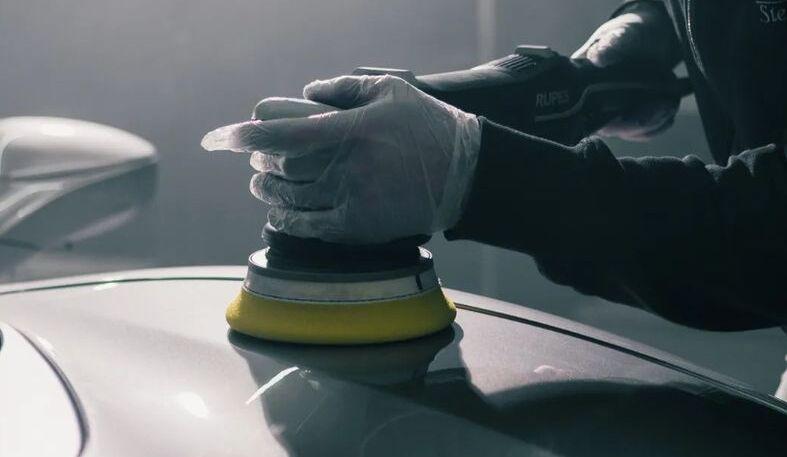
Test the Combination Before Polishing the Whole Car
The same polishing pad can perform differently depending on the paint, compound and machine. That is why every correction should begin with a small test section.
Start with the least aggressive combination that can remove the defects. Inspect the result under good lighting and increase the cutting level only when necessary.
Wool Pad or Heavy Cut Foam?
When regular cutting foam is not removing defects efficiently enough, the correction stage usually moves toward a more aggressive pad. WORK STUFF offers both a natural wool option and a heavy-cut foam option.

PRO WOOL
The PRO WOOL Polishing Pad is designed for strong cutting performance during heavy paint correction and compounding.
Its 100% natural sheep’s wool construction makes it suitable for demanding defect removal before the paint is refined with a foam pad.
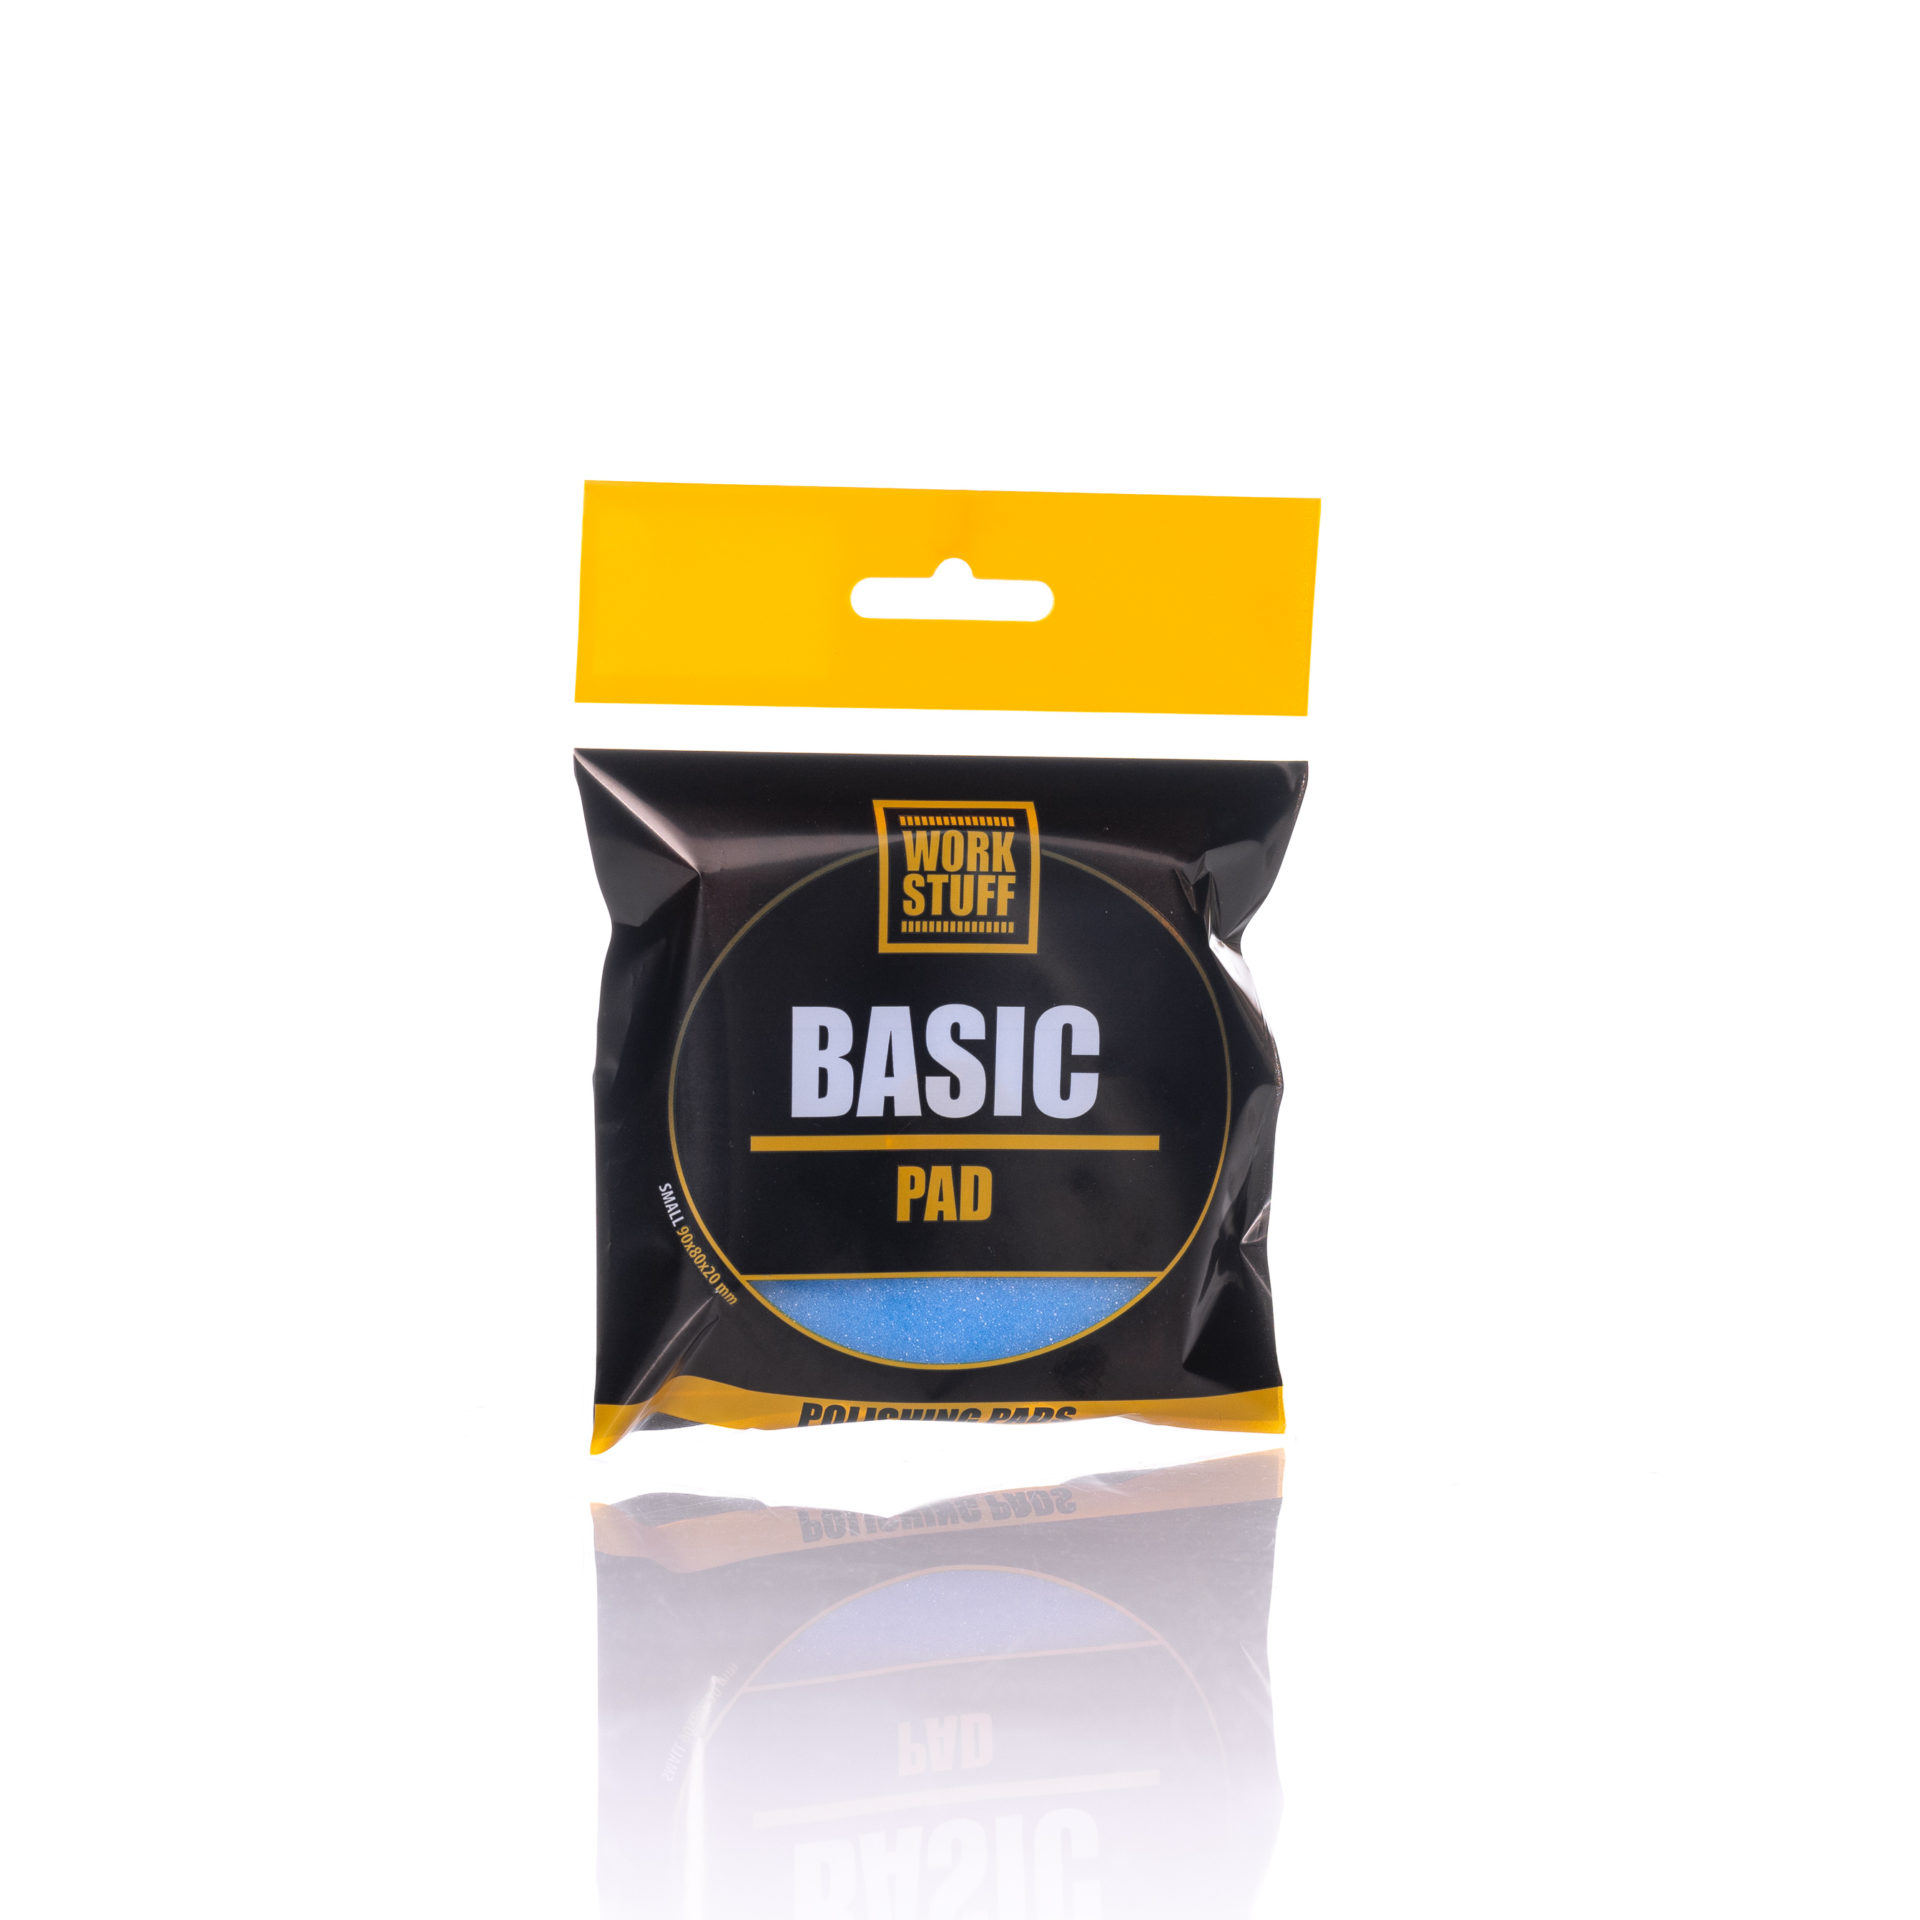
Basic Pad Heavy Cut
The Basic Pad Heavy Cut is the foam option for severe oxidation, deeper scratches and demanding correction where a standard cutting pad is not enough.
It uses closed-cell foam with a central cooling hole and slanted edge for controlled machine polishing.
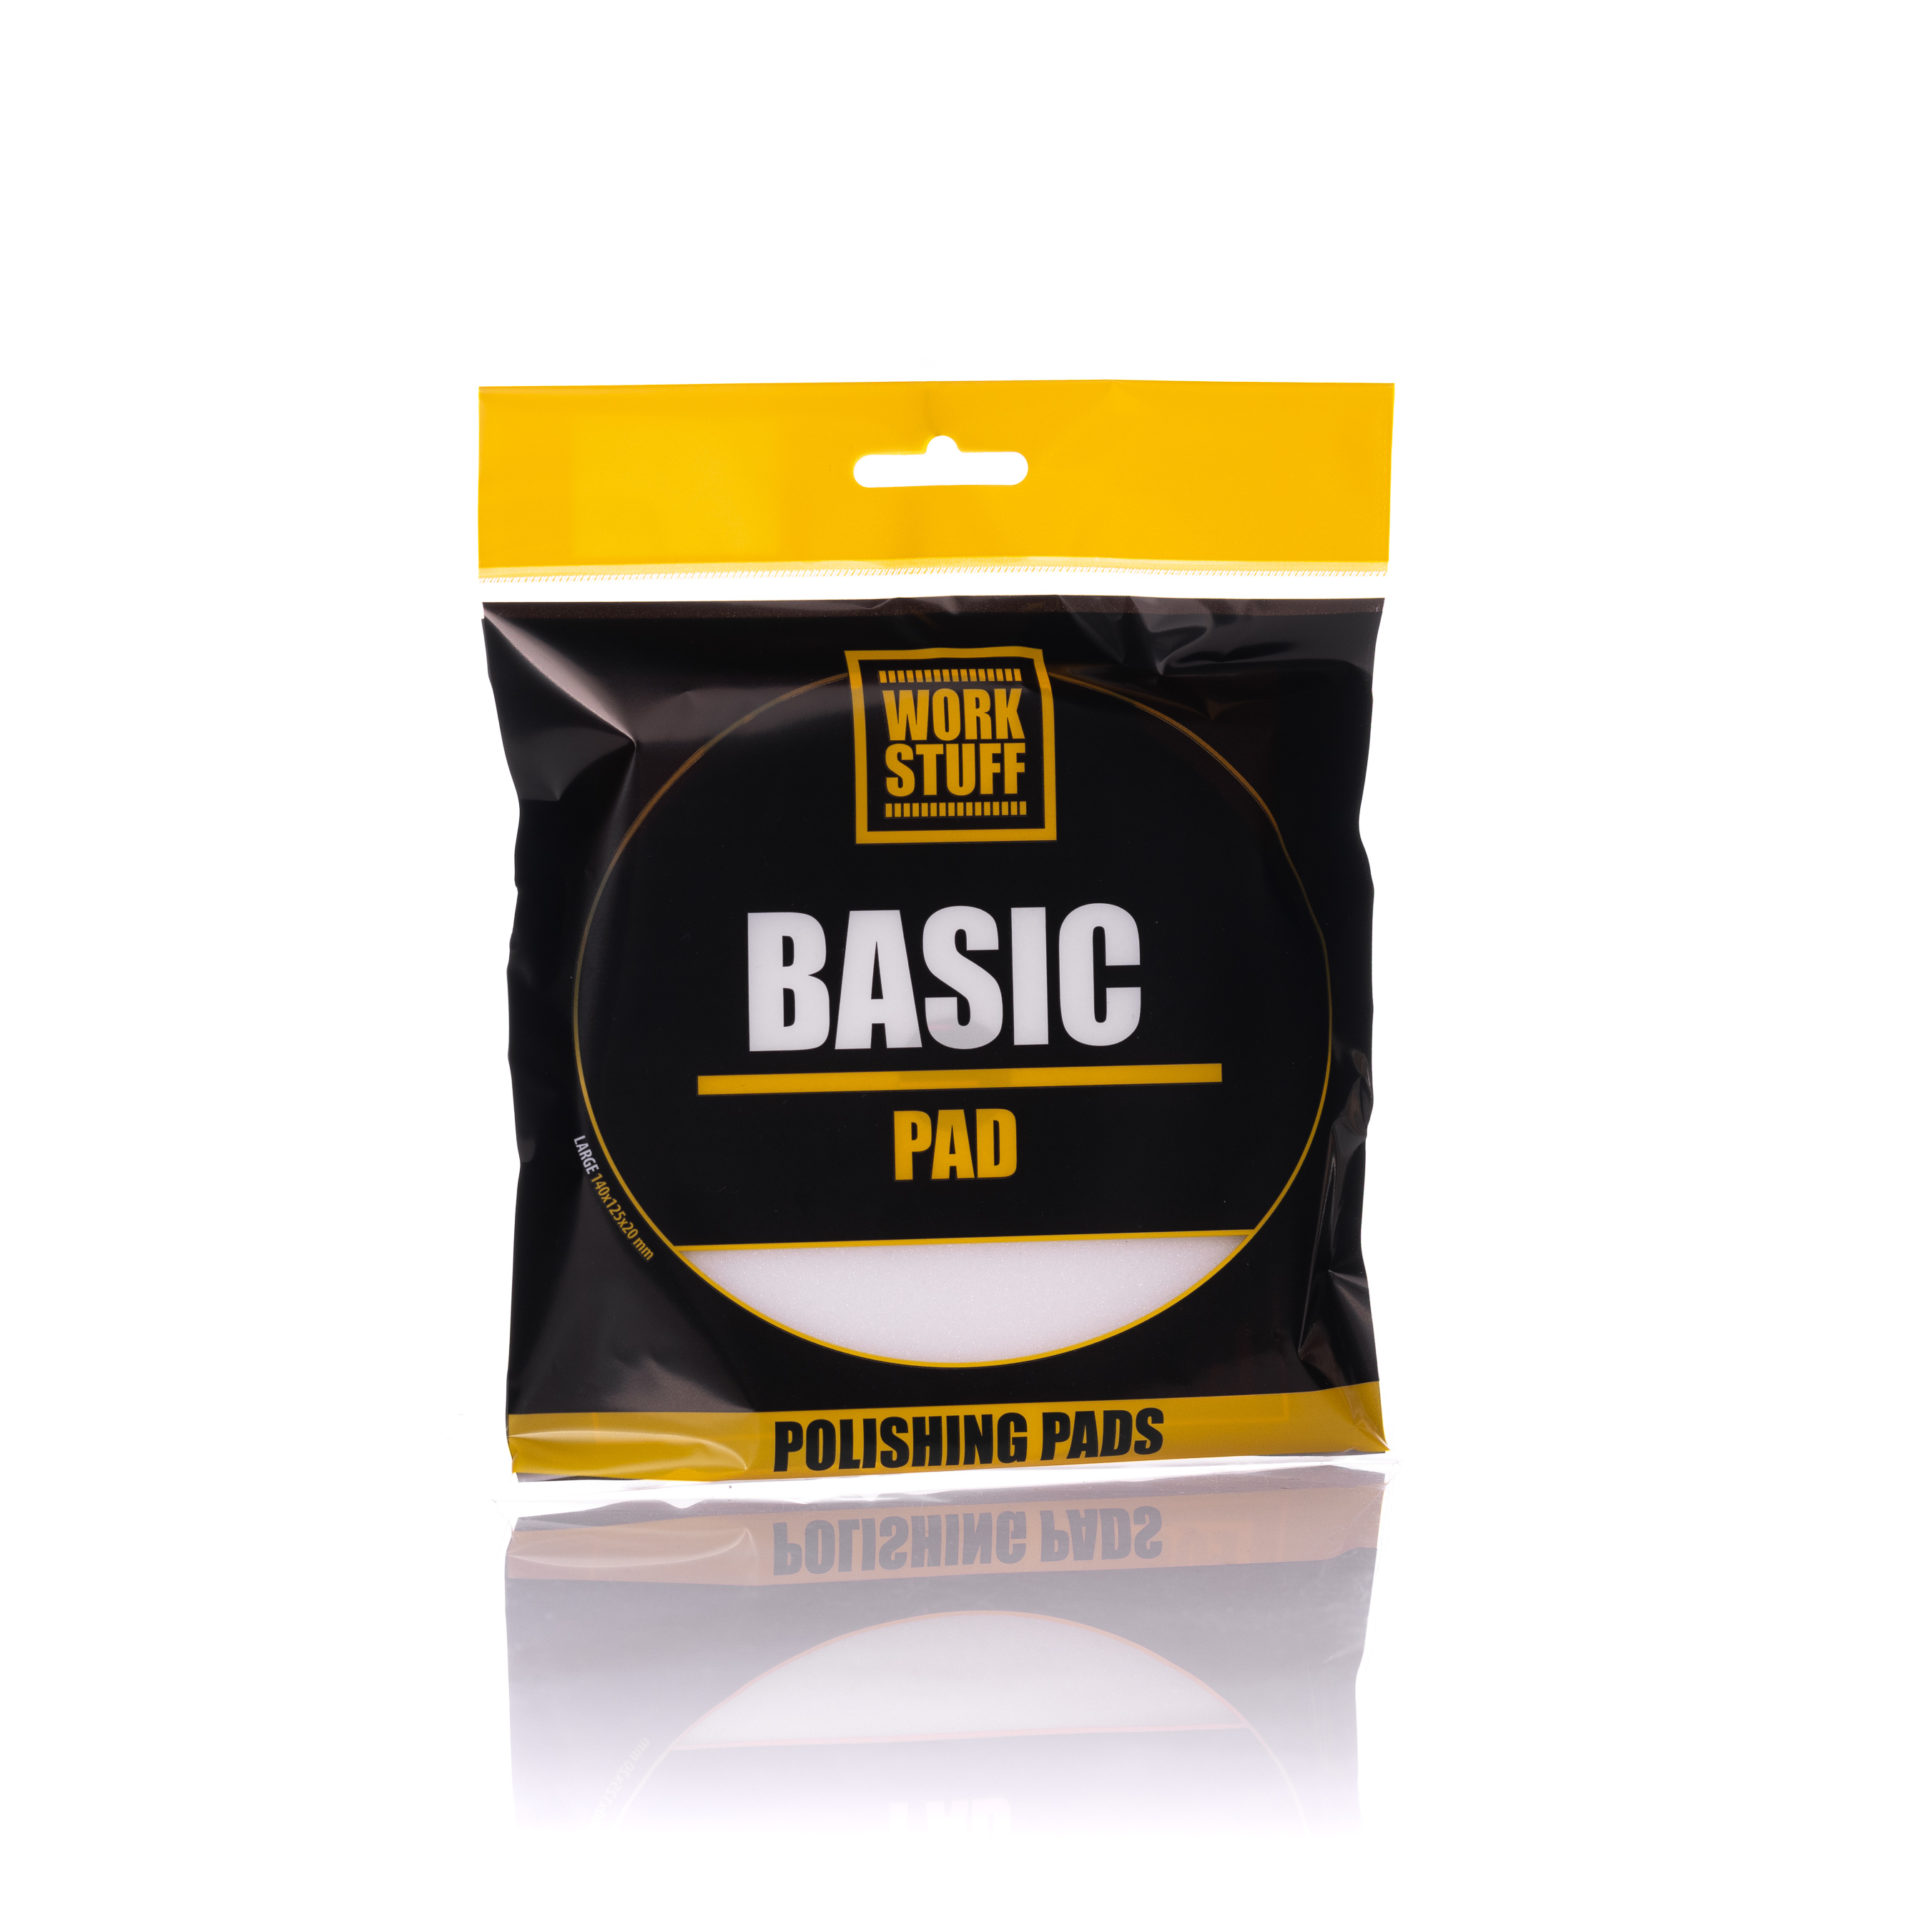
Use a Cutting Pad for Swirls and Moderate Paint Defects
A cutting pad sits between heavy correction and final finishing. It is usually the more logical starting point when the paint has visible swirl marks, oxidation or moderate defects but does not require the aggression of wool or heavy-cut foam.
The WORK STUFF Basic Pad Cut uses high-density closed-cell foam designed to maintain consistent correction during machine polishing.
After the correction stage, inspect the paint under good lighting. If light haze remains, move to a softer finishing pad rather than continuing to polish aggressively.
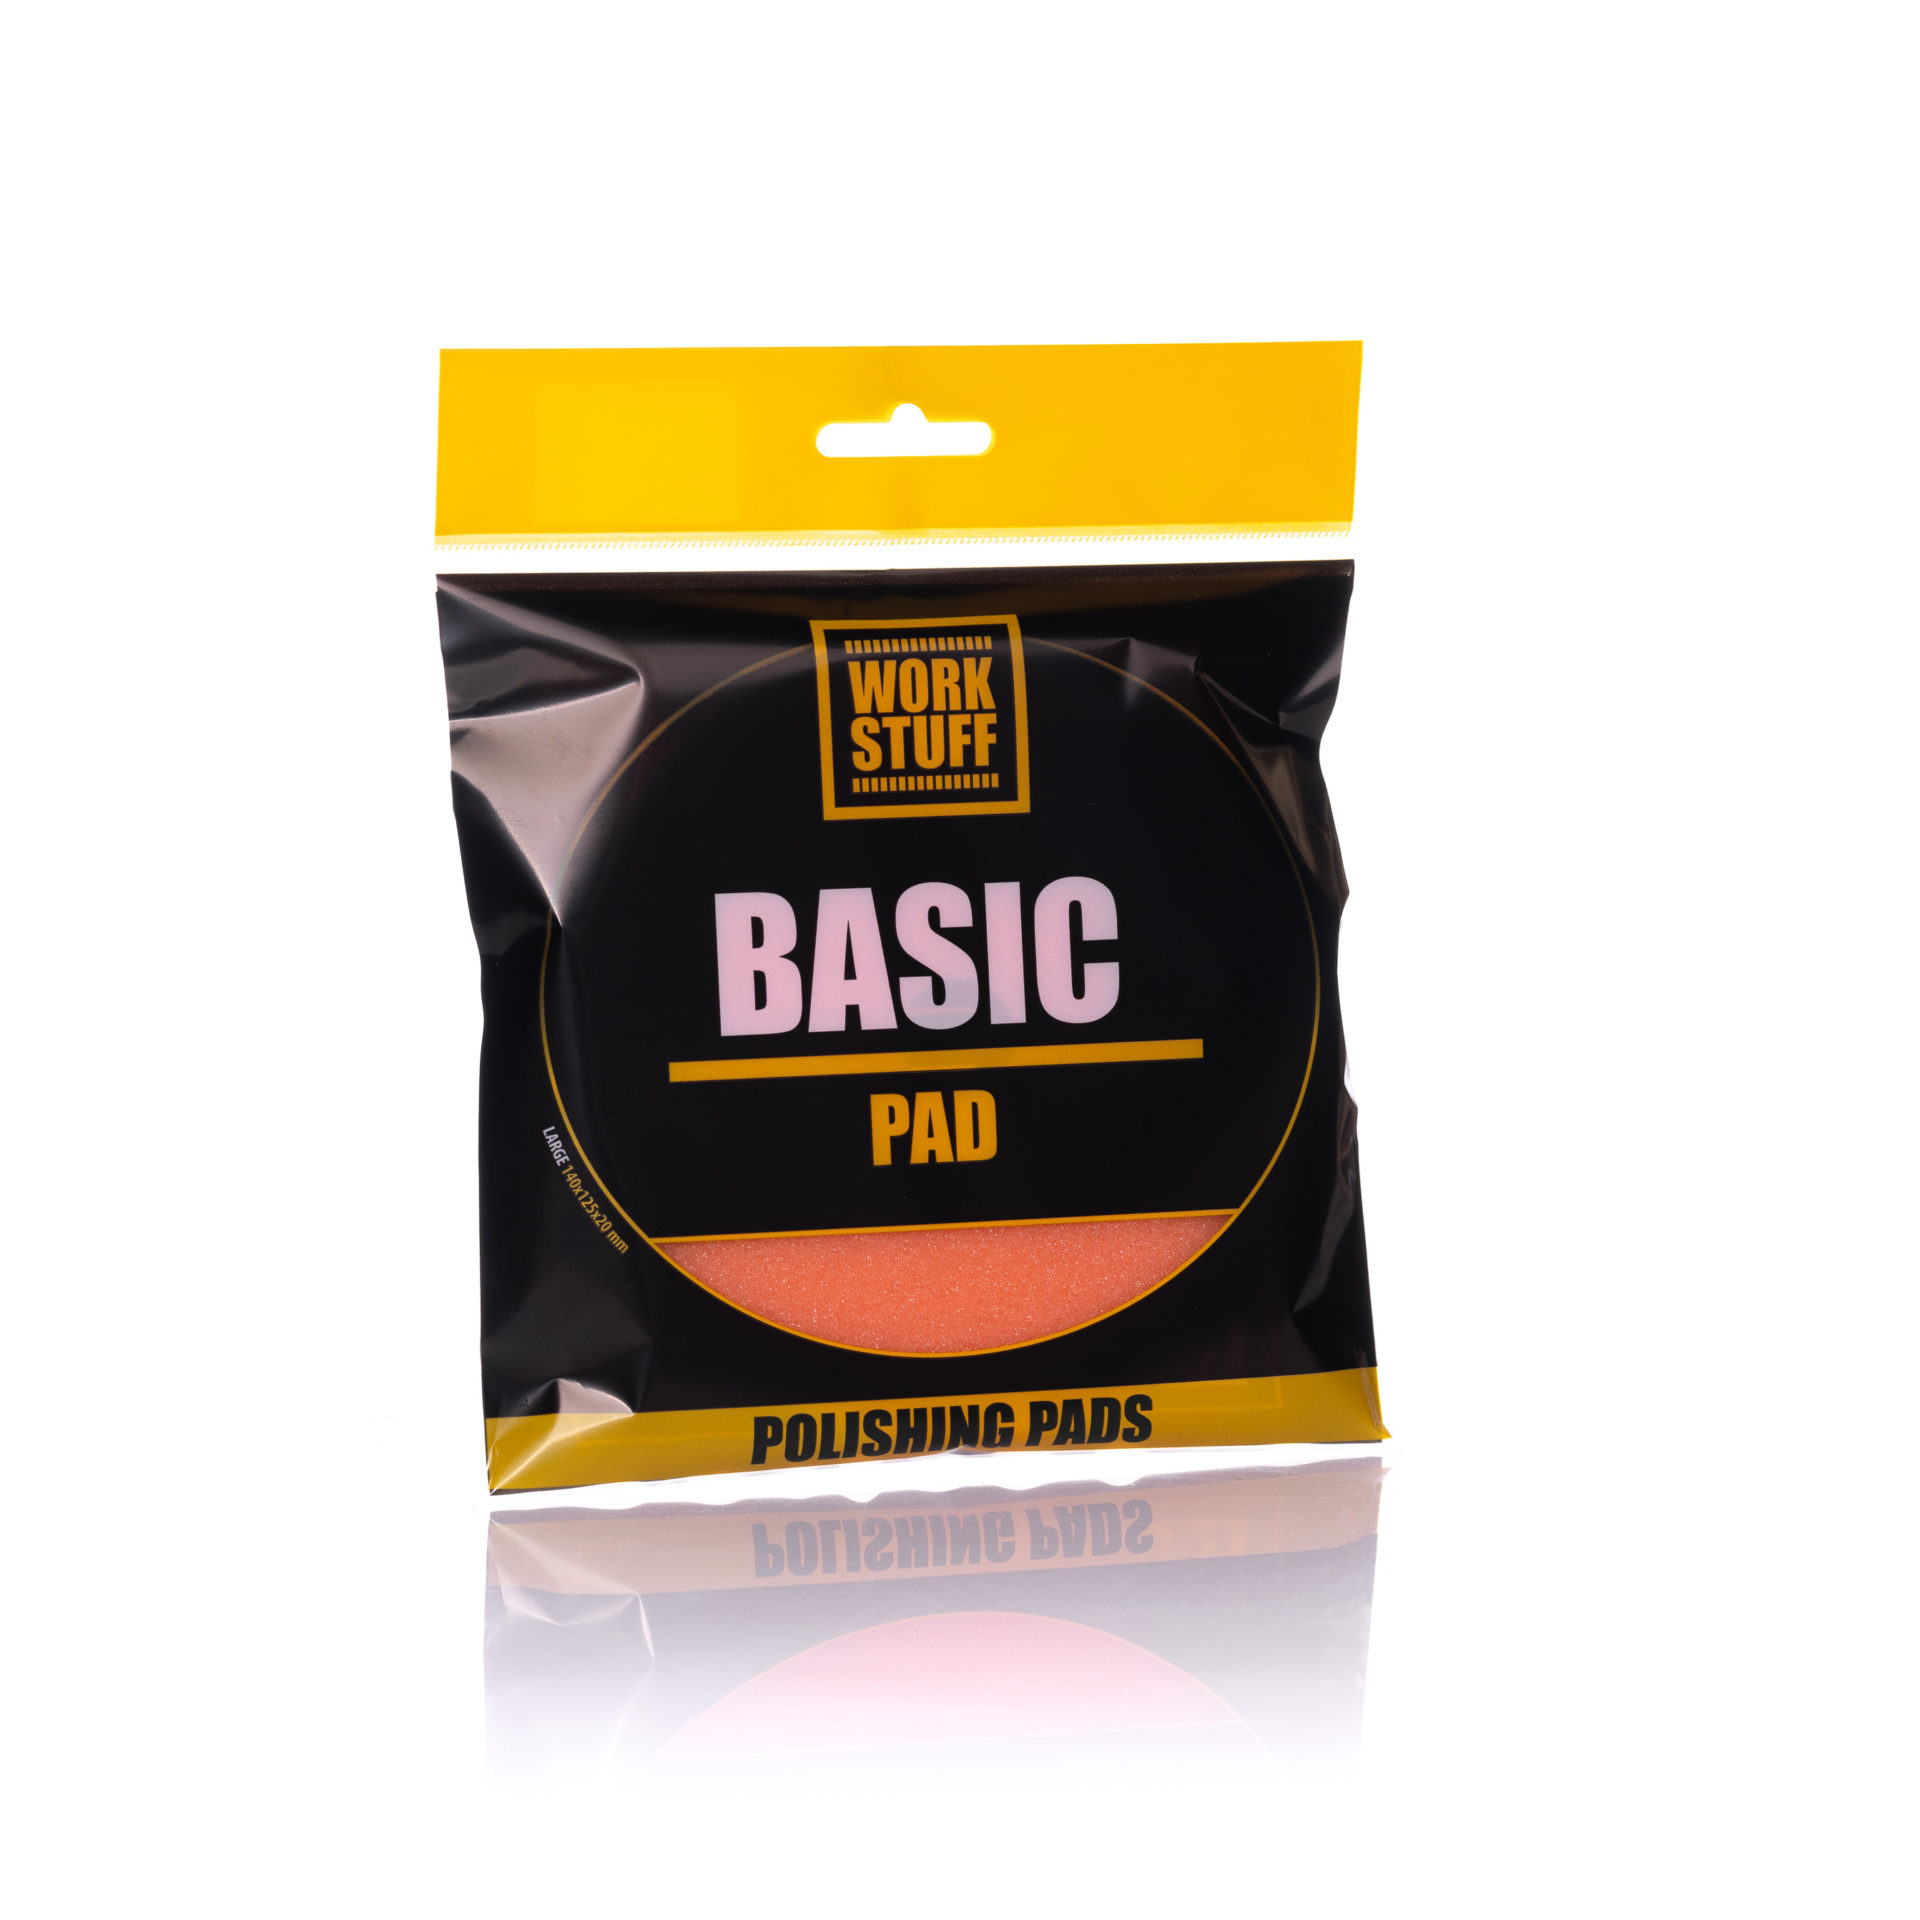
When Does a One Step Polishing Pad Make Sense?
Not every vehicle needs a multi-stage paint correction. On daily drivers with moderate swirl marks or light defects, a one-step system can improve clarity and gloss while reducing the amount of time spent polishing.
The Basic Pad One Step uses a medium-hard closed-cell foam structure that combines correction and refinement in one stage.
It is particularly useful for enhancement details, maintenance polishing and situations where balanced correction is more important than maximum defect removal.
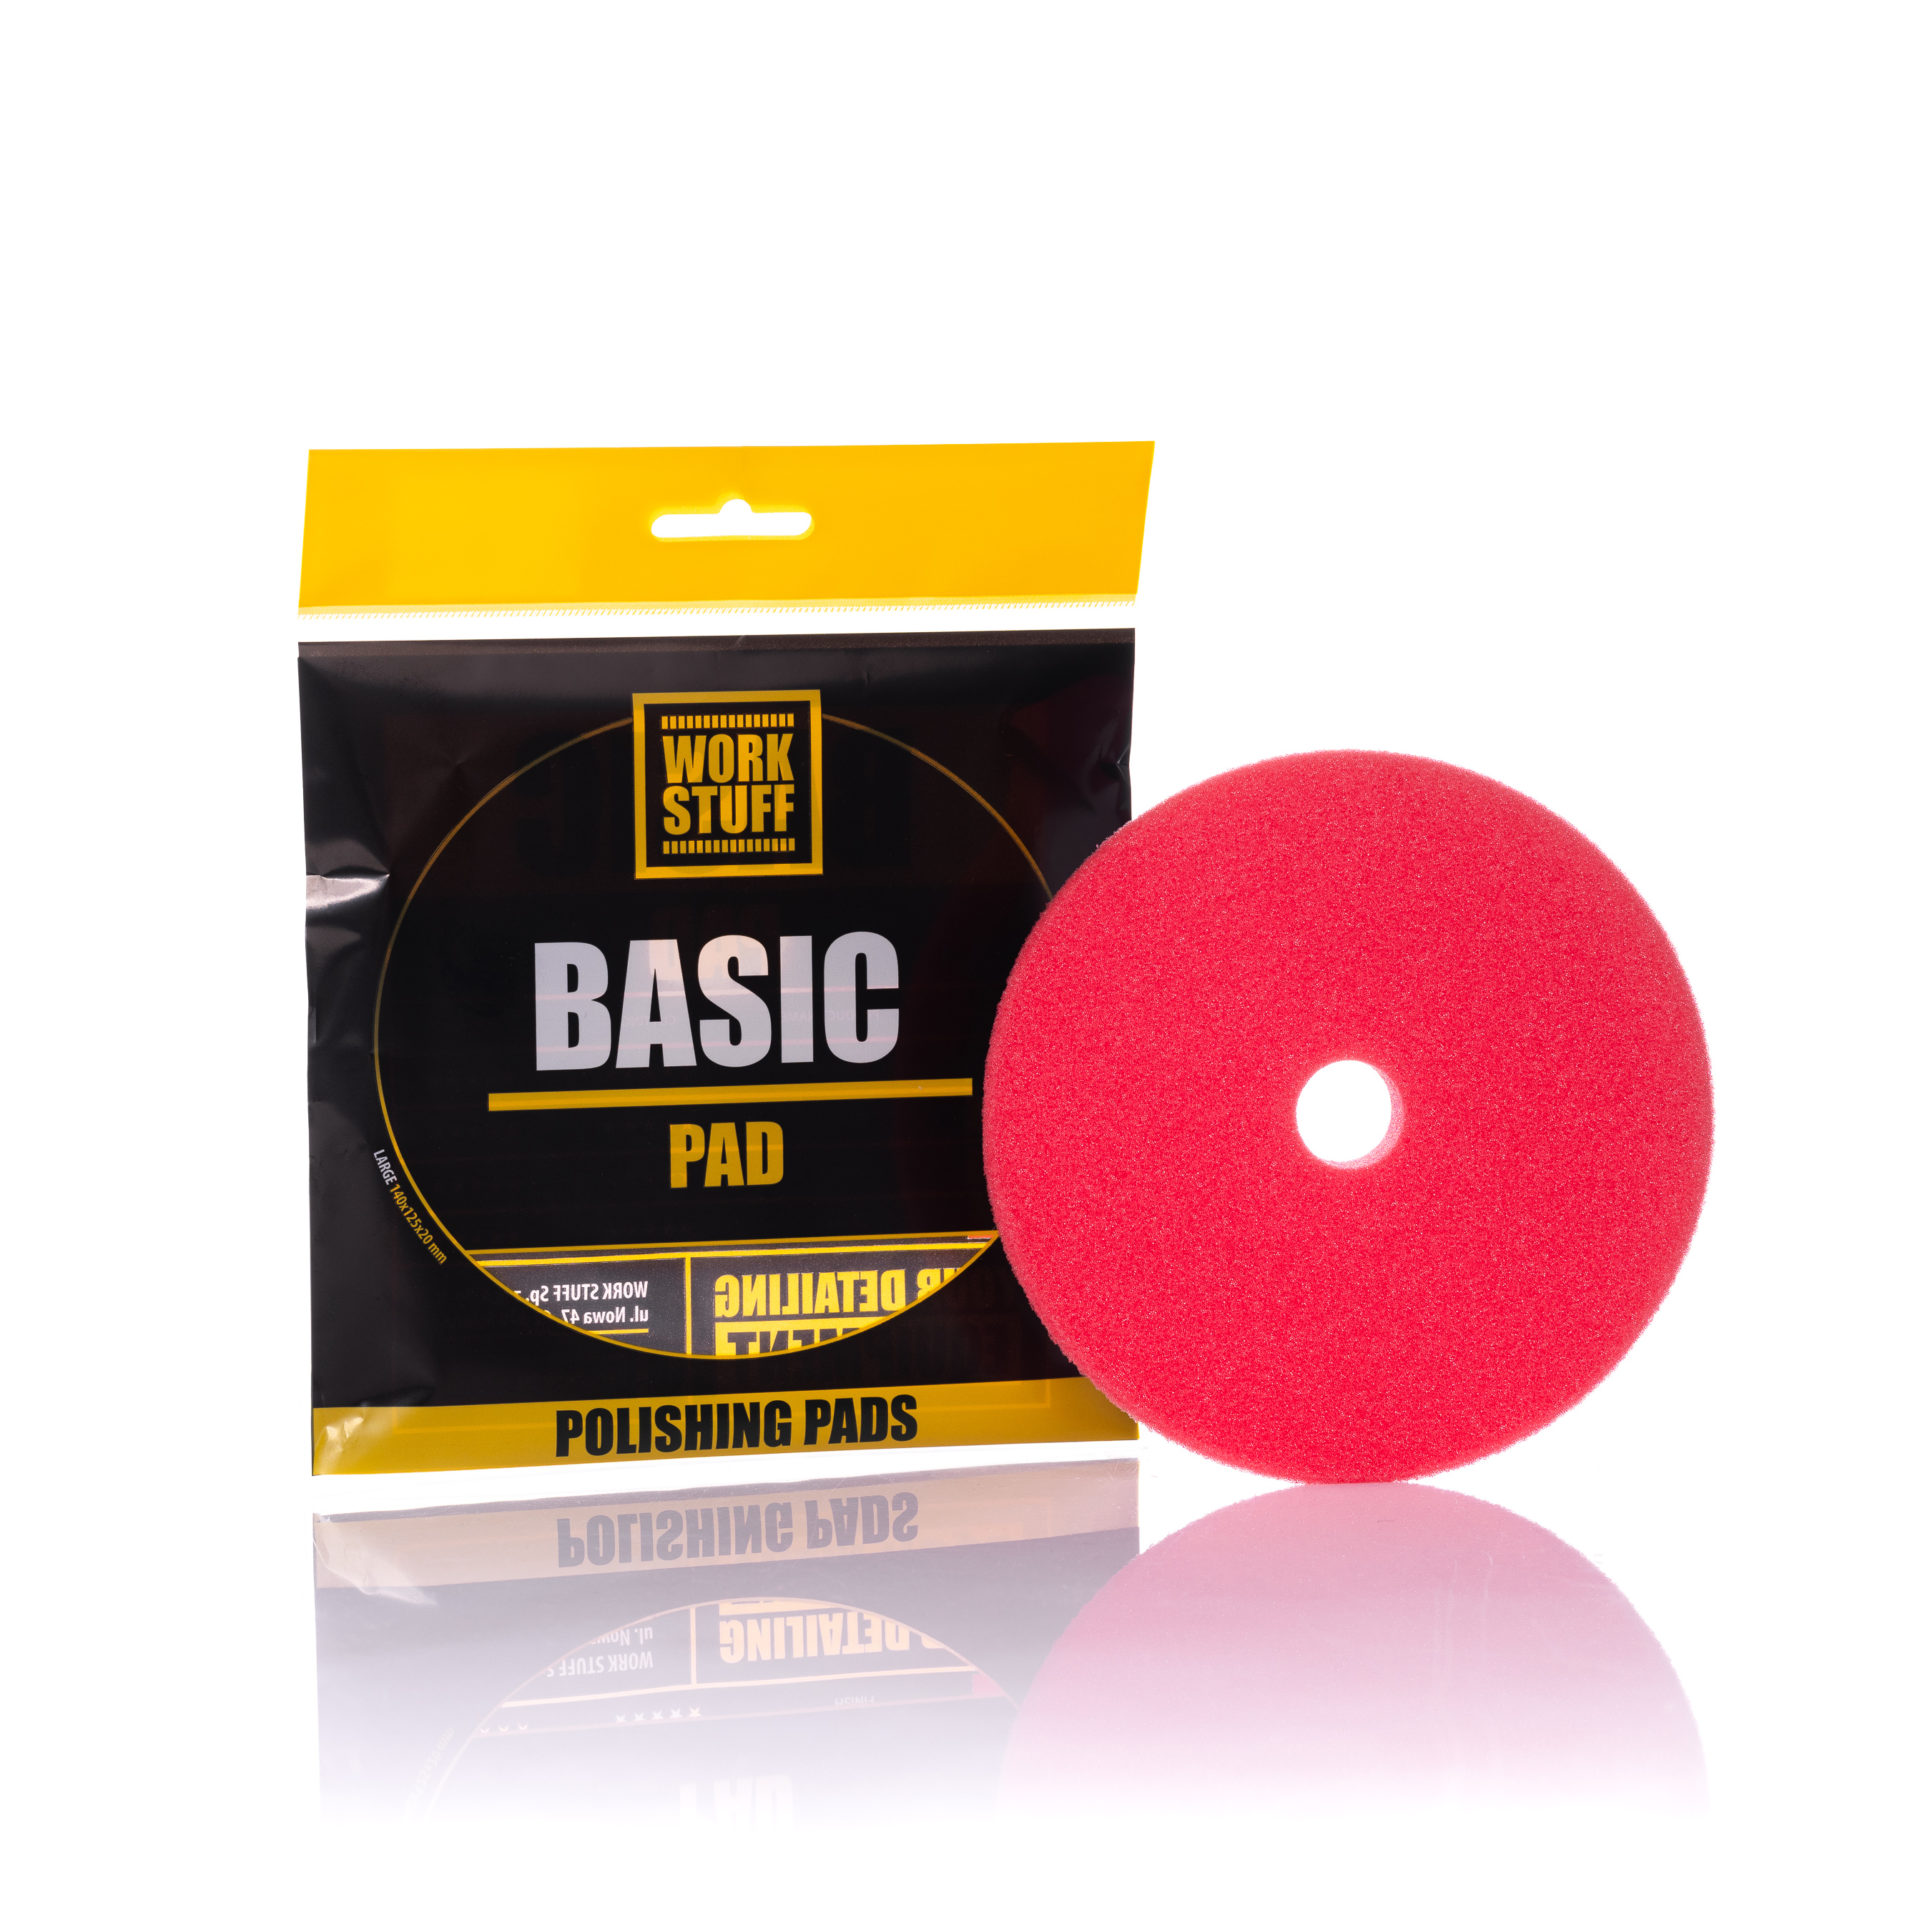
Use a Finishing Pad When Clarity Matters More Than Cut
The final polishing stage is not about removing deep defects. Its purpose is to refine the finish after correction, reduce light haze or micro-marring and maximize paint clarity.
The Basic Pad Finish uses soft, low-cut closed-cell foam for final refinement and gloss enhancement.
This is the pad to consider when the major defects are already corrected and the goal is a cleaner, more reflective finish before protection.
Which Polishing Pad Should You Choose?
| Pad | Correction Level | Best For | Typical Next Step |
|---|---|---|---|
| PRO WOOL | Very high | Heavy swirls, deeper defects, oxidation, compounding | Refine with foam |
| Heavy Cut | High | Heavy defects when aggressive foam correction is preferred | Cut or Finish |
| Cut | Medium / high | Swirls, oxidation and regular paint correction | Inspect, then Finish if required |
| One Step | Balanced | Light-to-moderate defects with gloss improvement | Protection |
| Finish | Low | Final refinement, haze removal and gloss enhancement | Protection |
80/90 mm or 125/140 mm Polishing Pad?
Pad size should match both the polishing machine and the area being corrected. A large pad covers open panels faster, while a smaller pad gives better access around complex shapes and narrow sections.
Useful around bumpers, mirrors, pillars, tight curves, smaller panels and localised correction where control is more important than coverage speed.
Better suited to doors, bonnet, roof and other large open sections where efficient panel coverage is the priority.
Choose a Polishing Pad by Paint Condition
Check the defects
Look for swirl marks, oxidation, haze, sanding marks and deeper scratches under strong lighting before choosing the correction level.
Start with a test spot
Test a small area with the least aggressive combination you expect to work. Inspect the result before committing to the entire vehicle.
Increase cut only if needed
If the combination does not provide enough correction, move toward a stronger pad or compound rather than immediately using maximum aggression.
Inspect the finish
Strong cutting can leave haze on some paint systems. If clarity is not where you want it, refine with a softer foam pad and finishing polish.
How to Use Polishing Pads Effectively
Do not compensate for an incorrect pad-and-compound combination by applying excessive pressure. Keep the pad clean, monitor panel and pad temperature, and let the polishing system perform the correction.
How to Clean and Care for Polishing Pads
Polishing residue gradually loads the pad and reduces its ability to work consistently. Clean the pad regularly during polishing rather than waiting until the entire vehicle is finished.
After the job, wash reusable foam pads with warm water and a mild detergent, remove compound residue carefully and allow them to air dry completely before storage.
Keep cutting, one-step and finishing pads separated. A finishing pad contaminated with aggressive compound residue can behave very differently from a clean finishing pad.
What Should You Do After Polishing?
Once the correction and refinement stages are complete, remove polishing residue and inspect the paint under good lighting. The next step depends on whether you want immediate gloss enhancement or longer-lasting surface protection.
Gloss Detailer
For a quick final gloss and slickness boost, use GOOD STUFF Gloss Detailer after polishing and final inspection.
SiO₂ Detailer or Coating
For hydrophobic protection, consider SiO₂ Detailer or continue to our guide on applying a ceramic coating .
Polishing Pad FAQ
Which polishing pad should I use first?
Start with a test section and use the least aggressive pad-and-polish combination that can achieve the correction you need. Moderate swirl marks may only require a cutting or one-step pad, while more serious defects can require Heavy Cut or PRO WOOL.
What is the difference between a cutting pad and a finishing pad?
A cutting pad is designed to remove defects such as swirl marks and oxidation. A finishing pad is softer and focuses on refining the paint, reducing light haze and maximizing gloss after correction.
When should I use a wool polishing pad?
Use a wool polishing pad when the paint requires stronger correction than regular foam can provide efficiently, such as heavy swirl marks, oxidation or deeper defects. Follow heavy correction with foam refinement when required.
What is a one step polishing pad used for?
A one-step pad combines correction and finishing ability in one polishing stage. It is useful for moderate defects, enhancement details and daily drivers where a full multi-stage correction is unnecessary.
Should I use a small or large polishing pad?
Use larger pads for broad panels such as doors, roof and bonnet. Smaller pads provide better control around mirrors, pillars, bumpers, curves and other tight sections. Always match the pad to a compatible backing plate.
How often should I clean a polishing pad while polishing?
Clean the pad regularly throughout the correction process whenever compound residue and removed paint contamination begin loading the surface. A clean pad generally performs more consistently than one saturated with spent polishing residue.
Choose the Pad for the Defect — Then Refine the Finish.
Explore the complete WORK STUFF polishing pad system, from natural wool and heavy-cut foam to one-step correction and final finishing.


